Instructional videos have become a key part of online training programs. They let you deliver your training at scale, wherever you are. If you’re thinking about adding instructional videos to your e-learning platform, here’s a step-by-step guide to help you get started.
The equipment you need to capture your instructional videos:
To film your instructional videos, you’ll obviously need suitable capture equipment. Depending on your budget, you can opt for more professional setups, fully designed for this kind of content. There are various French solutions for suitable video studios. For example, the studio pack from the Kast camera unit is mobile, complete, and lets you avoid any post-production editing.
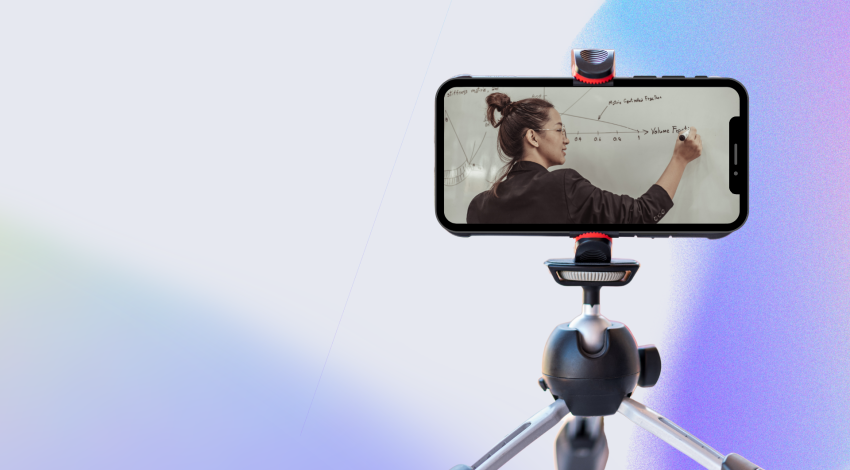
If you don’t want to invest in equipment, a smartphone can be good enough to get started. That said, this will require more post-production work later on. When using a smartphone, also pay attention to sound and lighting. We recommend using a microphone, since poor audio quality can be very unpleasant for the learner. Finally, if you simply want to make a live video to share on the YouTube streaming platform, we recommend using the Kast Live app on iOS. Kast Live lets you broadcast content live from your iPhone, with no YouTube restrictions.
Tools for editing and sharing instructional videos:
Editing an instructional video can become child’s play if it’s well scripted beforehand. It will take some time to get familiar with whichever software you choose, but after a bit of practice, everything will click.
There are countless video editing programs — you can find free ones that offer fewer features but can still do the job. For example, we can recommend: iMovie on Mac, Canva, or PlayPlay in its freemium version.
If you have a small budget for editing your videos, our favorite is a tablet app called LumaFusion. Very intuitive, it’s quick to pick up while still being fairly full-featured.
If you love making videos and want to take your editing to a professional level, the Adobe suite and its Premiere Pro app are very comprehensive. That said, it will take a significant amount of time to learn.
Now that you’re equipped, quiet on set, we’re rolling!
Once you have all the equipment you need, here are the 5 steps to making your instructional videos:
- Determine the topic of your video
- Script the e-learning video
- Film the video and its content
- Edit the video
- Share and distribute the video
In the rest of this article, we describe each of these steps step by step.
Determine the topic of the video:
Determine the topic of the video and the key points your learners need to remember. When you create an instructional video, you need to clearly know and define its purpose. In the end, nothing new under the sun — creating a training module requires this same preparation work.
To do this, determine the key elements your learners should remember by the end. This will help guide the creation of your video and keep a clear thread running throughout the process. For example, you could write a detailed outline of the video, noting the different steps you want to cover and the key information you want to convey.
Scripting your e-learning video:
Picture ahead of time the format of your video or the different shots you want to include.
Plenty of options are available to you — here are a few examples:
– Person facing the camera: giving a live demonstration.
– The demonstration: the trainer describes the action they’re carrying out live. For this type of scenario, it can be worth filming from two different angles.
– Voice-over presentation: visuals accompanied by a voice-over. This type of video is less interactive but very widely used — for example, filming a screen while narrating the actions taking place.
– Interview: someone is interviewed on a given topic.
– Animation: animated digital characters give information; you can also use the whiteboard feature.
To script your instructional video, write the script and determine visual elements such as the set, content, and cutaway shots. If you plan to film yourself, choose an informal background to create a warm, engaging atmosphere. Also make sure to use clear visual aids with little text to help learners understand and stay engaged.
Try to make short, well-paced videos. Break them into chapters if needed, and avoid at all costs a single video format lasting a full hour — you risk losing your learners’ motivation.
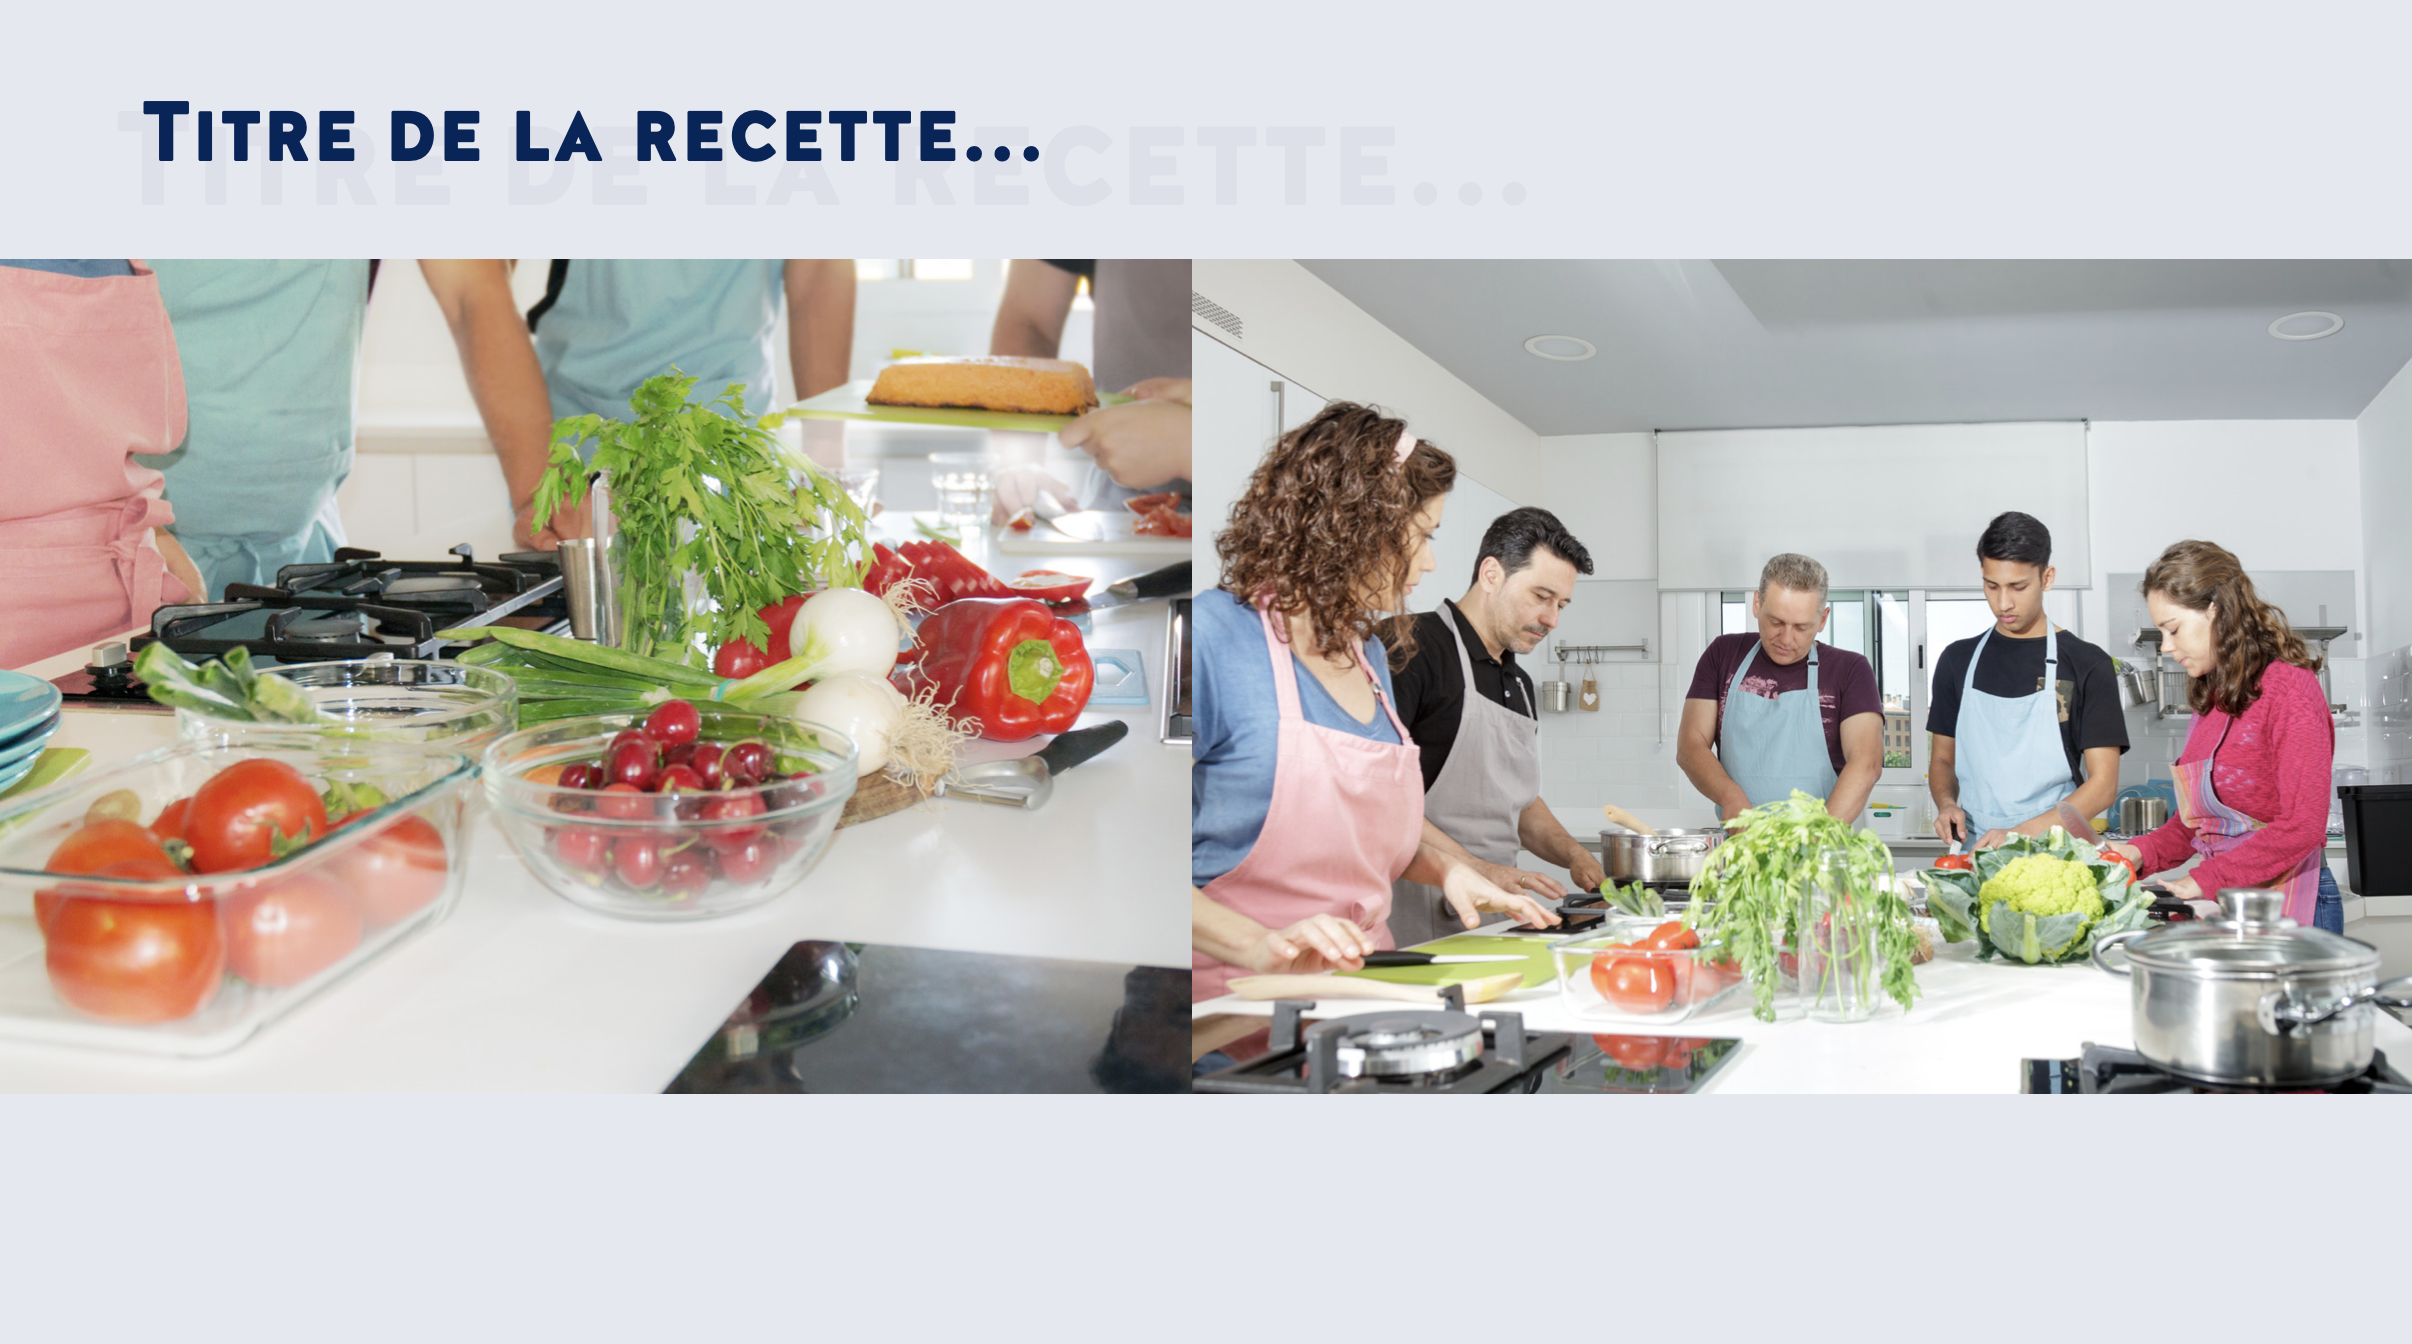
If you’re putting together fairly technical training that involves demonstrating gestures, why not consider a dual-camera setup? Cooking, sewing, welding training… Film both a wide shot of the content and a closer shot of your hands and movements!
Filming your video:
Always start with a quick equipment test. To do this, record a few seconds of video to check the sound, lighting, and environment.
While filming your video, take the time to shoot several takes, and don’t hesitate to experiment with different formats to find the one that best suits your goal. Don’t be afraid to start over — remember that being in front of a camera doesn’t come naturally to everyone. Even your favorite YouTubers had to practice before producing quality content!
Pay attention to video stability, lighting, and sound, since these elements can significantly affect the final quality of the video. Don’t hesitate to invest in a tripod, a microphone, and suitable lighting. Remember to regularly check that everything is in order, to avoid having to redo your takes after they’ve already been recorded.
You could also consider using a green screen, to overlay yourself directly onto your presentation materials! In that case, be careful not to wear green or blue clothing.
Editing your video:
Now it’s time to put together all the shots you’ve filmed to create your video. Try out different editing formats to create a dynamic, engaging video. Consider creating an image or short intro video for the topic, presenting the video’s title, the related course, and your name.
Some layout ideas, if you’re using presentation materials: 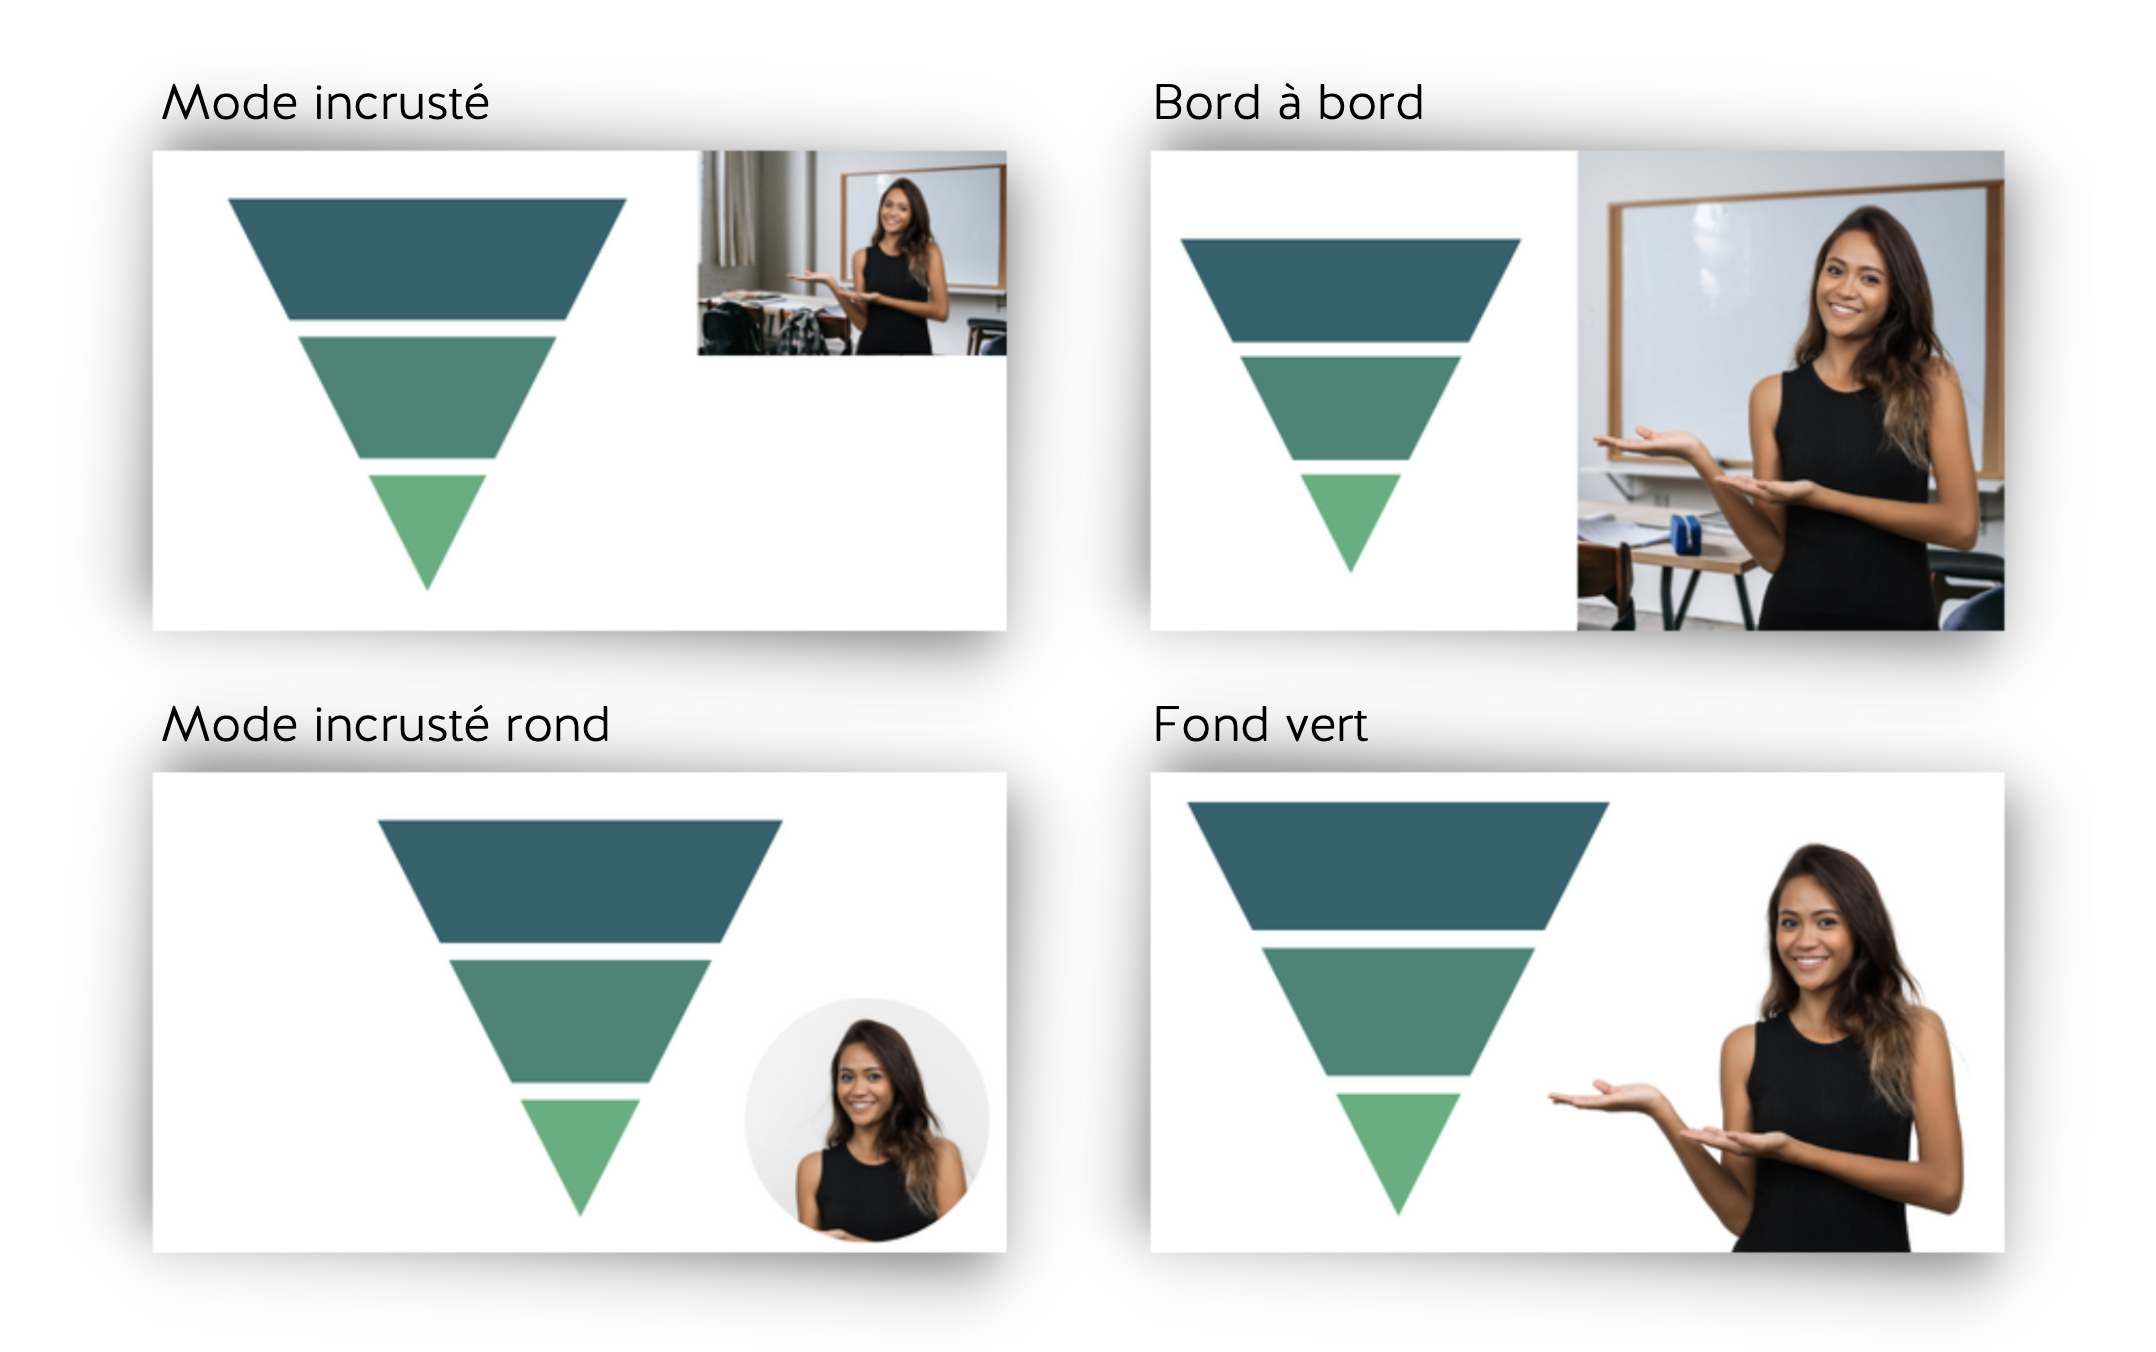
Don’t hesitate to add transition effects, text, or music to reinforce your message. Try to put yourself in the learner’s shoes and check that the video meets their needs.
YouTube Studio offers a wide selection of royalty-free sounds.
To get feedback on what works, ask people around you to watch the final video. Their comments will help you improve the quality of your video.
Sharing your video:
To share your video, it’s recommended to export it in the highest quality format possible, even if that makes the file larger. This will ensure your video keeps its visual quality when viewed on different platforms.
It’s also a good idea to favor 1080p HD export formats, since they offer higher resolution and a more enjoyable viewing experience for viewers.
To distribute your content, you can use LMS (Learning Management System) platforms, which are designed to host online courses and resources. These platforms give you a convenient way to share your video with your target audience and track your content’s results. By choosing the right LMS platform, you can make sure your video will be accessible and easy for your audience to find.
The little extras of the Kast mobile studio
The Kast studio pack lets you film all your video content easily and with no editing needed. The pack includes everything you need: camera, tripod, lapel mic, control tablet, lighting, and a green screen.
What makes it special? The Kast camera unit can sync two video feeds. In other words, this smart camera lets you make a video and add a presentation or a second video to it in real time.
Here are a few examples:

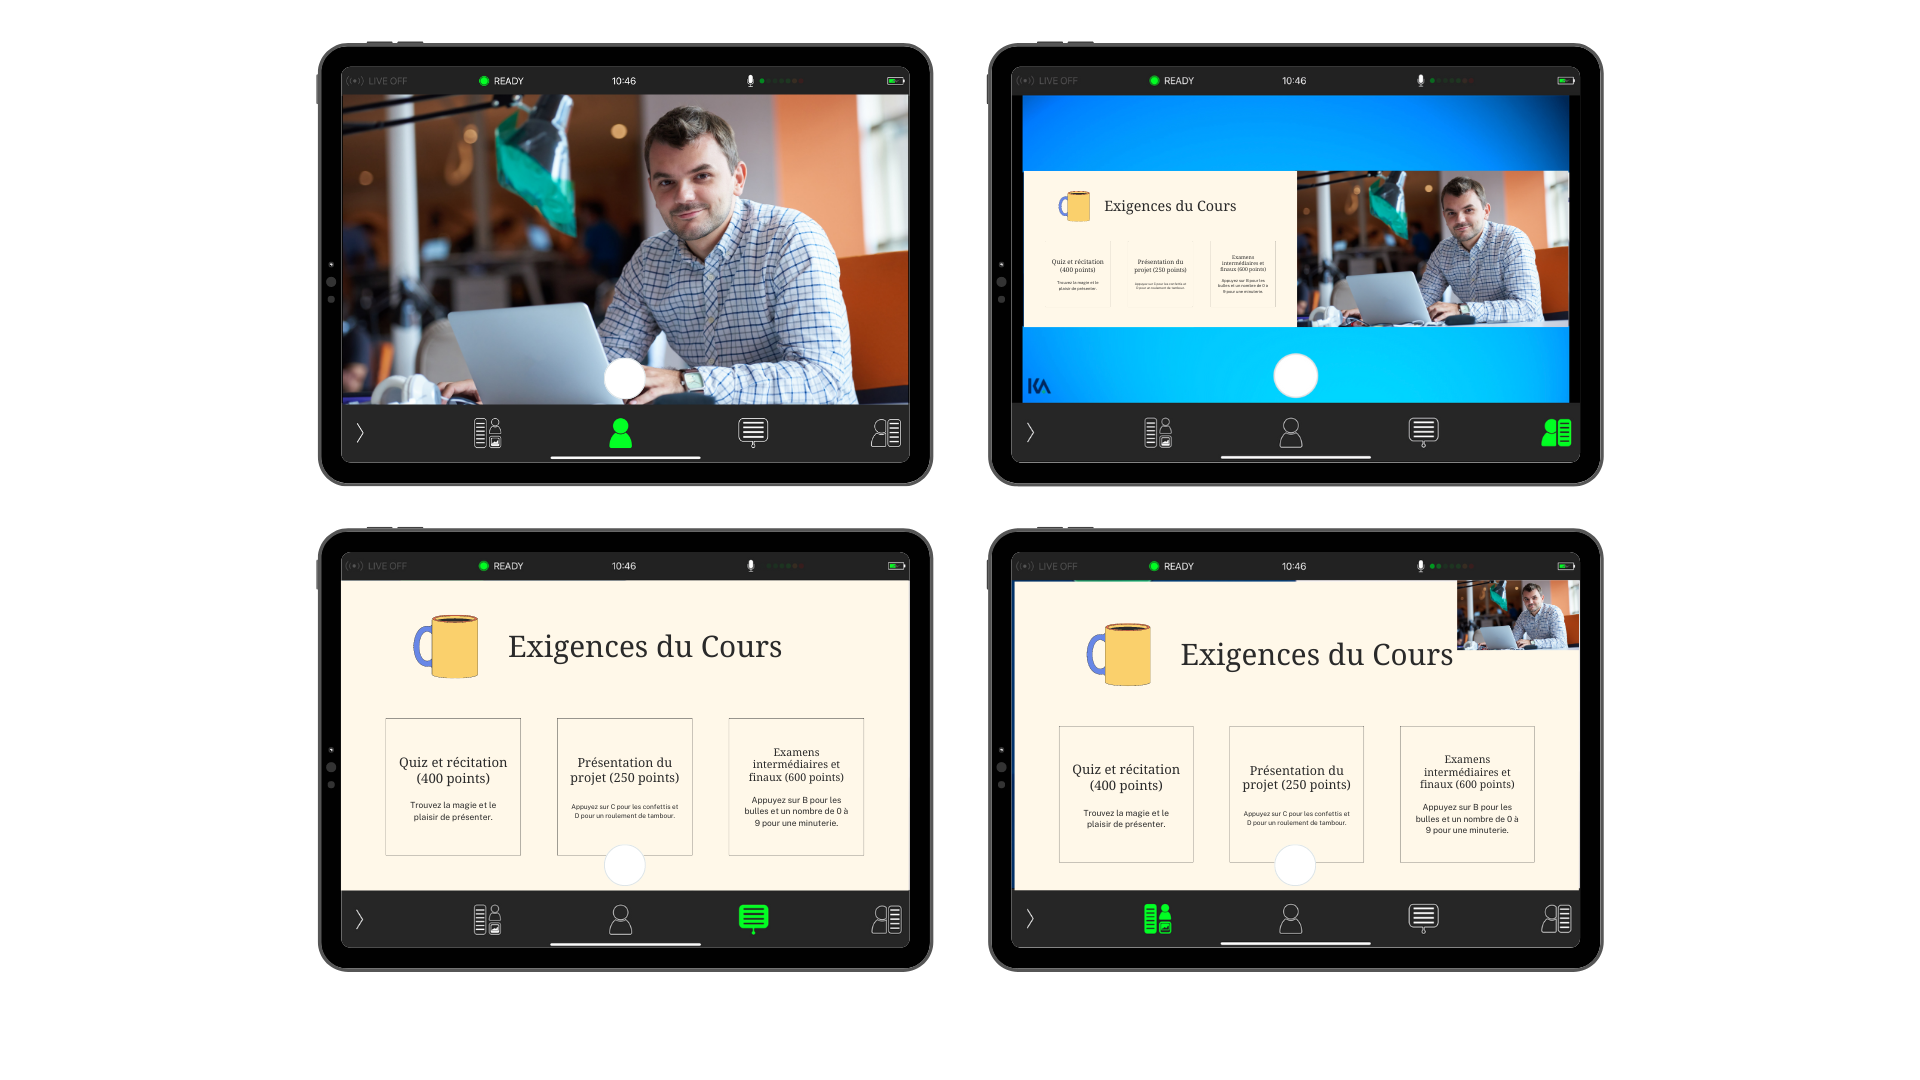
The camera offers 4 different shot angles, as well as a green-screen function. Instead of a slideshow, you could use a second camera to film a technical gesture. Backgrounds and logos can also be customized, directly from the app.
Here’s a short demo video made with no editing, using the Kast Revolt camera unit:
Its advantage? No more post-production editing! You can create dynamic videos directly from the tablet app, all in your own style… Pretty amazing, right?
If you’d like more information about the Kast Revolt mobile pack, contact us!